Hey guys,
Sorry I have been away from my computer for a while. I'm finally all caught up with the Christmas and New Year rush.
I've made these rolls several times over the Christmas holiday, in fact 2 batches for Christmas dinner. They are light, fluffy and amazing each time.
Here's the scoop on how:
Ingredients:
2 Cups of warm milk
2 tbsp instant dry yeast
1/4 white granulated sugar
2 tsp salt
6 tbsp salted butter,softened
2 lg eggs
6 C flour
1 tbsp melted butter
Instructions:
1. In a large mixing bowl, combine warm milk, yeast, sugar, salt, butter and, eggs.
2. Add in 5 1/2 cups of flour. Using mixer(stand or hand) turn the mixer on to low speed. Once the flour starts to incorporate the dough, increase the speed to medium. Slowly add the remaining half a cup of flour, until it pulls away from the sides of the bowl. Dough should be slightly sticky and soft. Add more flour until the dough reaches the desired consistency.
3. Transfer the dough to a lightly greased mixing bowl if you'd like, or leave it in your mixing bowl, like I do. Cover with a warm towel, and let rise for 90 minutes.
4. Lightly grease a baking sheet. Punch down dough and form into 24 rolls. Place on the greased baking sheet in six rows of four. (Baker's note: Form small rolls, as these rise nicely..)
5. Cover and let rise an additional hour.
6. Preheat oven to 375 degrees. Bake the rolls for 12 - 14 minutes, until lightly browned.
7. Remove the rolls from the oven, and brush with melted butter.
8. Try and resist the urge to eat all of them in one sitting!
Monday, January 8, 2018
Wednesday, November 22, 2017
Pumpkin Whoopie Pies
So, today is the day before Thanksgiving. Who is totally not ready yet??? MEEE! I have lots of stuff to finish cooking before our early lunch tomorrow. I actually did try to start my baking early and made these amazing Pumpkin Whoopie Pies with an even better Maple Cream Cheese Frosting last night.
Let
me tell you, it can’t get much easier than dumping ingredients into a bowl,
stirring around some and then scooping it out and baking it.
Let
me give you the scoop on how it's done.
Ingredients
for the cookies:
Prep
Time- 20 Minutes
Bake
Time - 12-13 Minutes
Serving
Size - 10 Pies
- 3
Cups of Pumpkin Puree
- 2
Eggs
- 1
Cup Canola Oil
- 1
Cup of Sugar
- 1
Cup of brown sugar
- 3
Cups of Flour
- 2
tbsp of Cinnamon
- 1
tsp of Ground Ginger
-
1/2 tsp Ground Cloves
- 1
tsp of Vanilla
- 1
tsp baking powder
- 1
tsp baking soda
- 1
tsp salt
Now
Let's get baking!
First, preheat your oven to 350°F. Then, if you’re feeling ambitious you can line
your baking sheets with parchment paper. >
(First time I’ve baked with parchment paper, definitely it’s worth that
$3!) My baking sheets were so clean when I was
done.
In a large bowl, mix together your sugars and oil,
then add in your pumpkin puree and whisk until combined. Once that's
all nice and combined, add in your eggs and vanilla and stir them
around. Then, in another bowl, whisk together your flour, cinnamon,
ginger, cloves, baking powder, baking soda and, salt.
Combine your flour mixture with the eggs, vanilla and Pumpkin
and beat until smooth.
Scoop
out cookie dough with an ice cream scoop if available onto your prepared cookie
sheets, leaving about an inch - inch and half in between each one.
Bake
for about 12-13 minutes.
Once
done baking, remove cookies from oven and place on a cooling rack until
completely cool.
This
recipe for me, made about 10 Whoopie Pies.
While
those are baking prepare your Maple Cream Cheese Frosting.
You'll
need:
3
Cups of Powdered Sugar
1/2
Cup (1 Stick) of unsalted butter
8
oz cream cheese
1
tsp of vanilla
3
tbsp of Maple Syrup
In
a large bowl, beat until smooth your butter and cream cheese. It takes
approximately 30 seconds to a minute.
Then,
add in your powdered sugar, vanilla and syrup. Beat once again until
smooth and completely combined.
FEEL
FREE TO LICK THE BEATERS... TRUST ME YOU'LL WANT THE WHOLE THING! :)
While
the cookies are cooling, this can go in the refrigerator.
Once
your cookies are cooled, use a silicone spatula to apply a dollop of frosting
to one cookie, then place another on top like a sandwich.
The
end result is totally worth the steps.
D -
E - L - I - C - I - O - U - S
ENJOY!
Friday, November 17, 2017
Banana Bread Streusel Muffins
So, my husband and I have been trying for several months to eat clean and make sure we have healthy(ish) meals every day for our family. This often involves lots of meal prep. Last night, i wanted to make breakfast ahead of time, so I could help out in beating the morning rush out the door with three kids.
These muffins were super-duper easy to bake, even with two of my three kids home. MOM WIN!
First of all, you will need to gather your ingredients:
Muffins:
2 Cups of Flour ( I use Wheat Montana, whole wheat white flour)
1 Cup of Sugar
1/2 tsp Salt
1/2 tsp Baking Soda
1/4 tsp Cinnamon
2 eggs
1 Cup Sour Cream
1/4 cup of butter, melted
2 medium bananas mashed
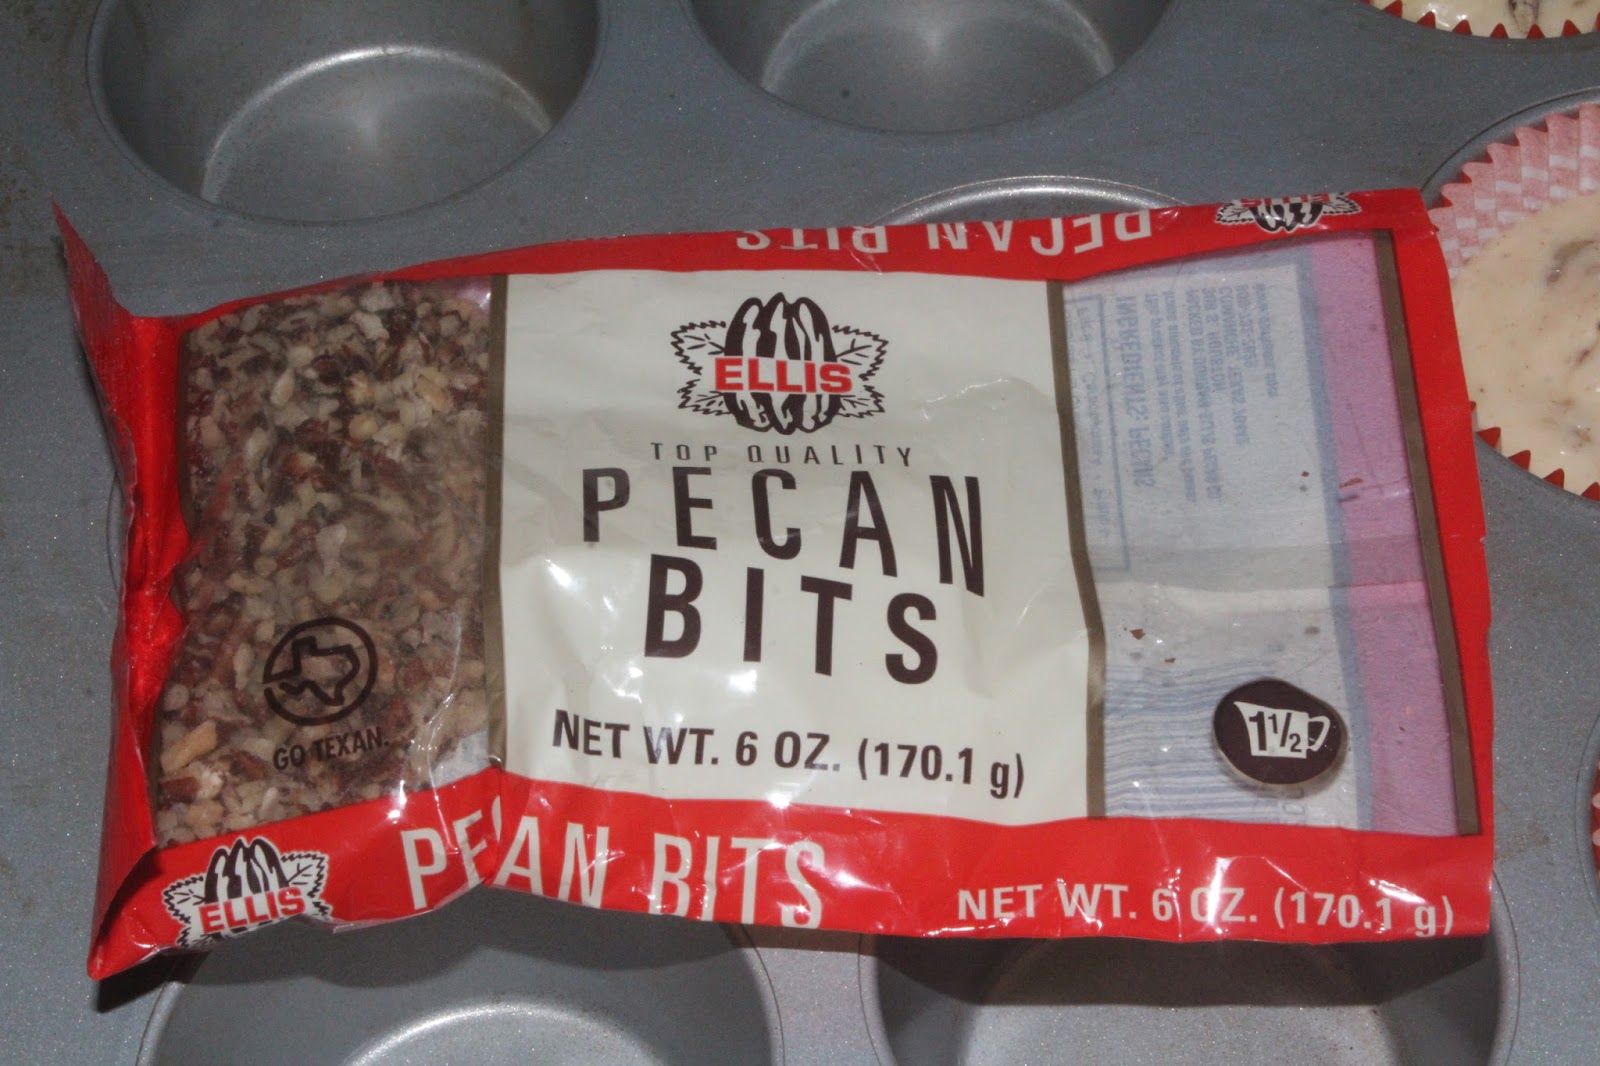
1/2 Cup of Chopped Pecans
Streusel:
1/2 Cup of Brown Sugar
3 Tbsp flour
1/4 tsp Cinnamon
4 tbsp butter, softened
Instructions:
You'll begin by pre-heating your oven to 375.
To begin these yummy banana muffins, combine the first six ingredients in the muffins list, 2 C Flour, 1 C Sugar, 1/2 tsp salt, 1/2 baking soda, 1/4 tsp cinnamon.


In a separate bowl, combine eggs, sour cream, mashed bananas and the melted butter.


Add in the chopped pecans/ or your nut of choice. Baker Note:(I added mine in after they were in muffin cups.. hazard of having those 3 kids running around the house, they relocate pecans to random places in the pantry. :) )


Fill muffin cups 3/4 of the way full.

After that is done, mix up your streusel topping. In a small bowl, mix your brown sugar, flour, cinnamon and then cut in the butter until your mixture is crumbly.


Baker note: (In the photos, my butter had been on the counter too long and melted too much.. therefore doesn't look too crumby. rest assured, it's delicious.) Sprinkle mixture over each muffin evenly. Then, pop these scrumptious smelling beauties in the oven for 20-25 minutes!


These muffins were super-duper easy to bake, even with two of my three kids home. MOM WIN!
First of all, you will need to gather your ingredients:
Muffins:
2 Cups of Flour ( I use Wheat Montana, whole wheat white flour)
1 Cup of Sugar
1/2 tsp Salt
1/2 tsp Baking Soda
1/4 tsp Cinnamon
2 eggs
1 Cup Sour Cream
1/4 cup of butter, melted
2 medium bananas mashed
1/2 Cup of Chopped Pecans
Streusel:
1/2 Cup of Brown Sugar
3 Tbsp flour
1/4 tsp Cinnamon
4 tbsp butter, softened
Instructions:
You'll begin by pre-heating your oven to 375.
To begin these yummy banana muffins, combine the first six ingredients in the muffins list, 2 C Flour, 1 C Sugar, 1/2 tsp salt, 1/2 baking soda, 1/4 tsp cinnamon.


In a separate bowl, combine eggs, sour cream, mashed bananas and the melted butter.


Once they are mixed thoroughly, add them to your dry ingredients. I just poured a little of my dry ingredients at a time into my egg mixture until it was all combined and there were no dry ingredients visible.


Add in the chopped pecans/ or your nut of choice. Baker Note:(I added mine in after they were in muffin cups.. hazard of having those 3 kids running around the house, they relocate pecans to random places in the pantry. :) )


Fill muffin cups 3/4 of the way full.

After that is done, mix up your streusel topping. In a small bowl, mix your brown sugar, flour, cinnamon and then cut in the butter until your mixture is crumbly.


Baker note: (In the photos, my butter had been on the counter too long and melted too much.. therefore doesn't look too crumby. rest assured, it's delicious.) Sprinkle mixture over each muffin evenly. Then, pop these scrumptious smelling beauties in the oven for 20-25 minutes!


Let them cool for a bit, and then you can taste test as many as you'd like.
Happy Baking Everyone!!
Tuesday, November 14, 2017
Extra Bready
Over on my Facebook page, Sweet G's Baking, I took a poll last night on what readers would like to see next.. It was split evenly between French Bread and Garlic Knots so today, we bake both!
First, I'll share this wonderful Homemade French Bread recipe.
Super Soft French Bread
Ingredients:
1/4 C warm water
1 pkg dry active yeast
1 tsp sugar
3 1/2 - 4 C flour (I use Wheat Montana)
1 Tbsp Sugar
1 Tsp salt
1 C plus 2 TBSP warm water
1 egg white, and 1 tbsp water


First, I'll share this wonderful Homemade French Bread recipe.
Super Soft French Bread
Ingredients:
1/4 C warm water
1 pkg dry active yeast
1 tsp sugar
3 1/2 - 4 C flour (I use Wheat Montana)
1 Tbsp Sugar
1 Tsp salt
1 C plus 2 TBSP warm water
1 egg white, and 1 tbsp water
Directions:
Preheat oven to 300 degrees.
To make this yummy bread, first you have to activate your yeast. I use Fleischmann's Rapid Rise Yeast, it comes in a strip of 3 blue packages. To do this, you need to mix one packet of yeast, 1/4 Cup of water, 1 tsp sugar and in a bowl.
Allow that to sit and get bubbly for about 5 minutes.
Once bubbly, add 1 tbsp sugar, 1 tsp salt and the 1 Cup 2 Tbsp of water. Mix it well, then add the flour.
Mix in your flour, then knead by hand your dough for 5 minutes, or until smooth.
Allow it to rise for 15-20 minutes (until it doubles in size) I put a damp warm dish towel over my bowl to aid in it's rising.
On a lightly floured surface( I use my cutting board) roll out the dough with a rolling pin.
Roll the dough up like a jelly roll, making sure to pinch the dough into a tight roll as you begin, then turn the ends under when done. Place the roll seam side down on your baking sheet. Cut three small slits in the top of the bread, being careful not to cut too deeply.
Mix together your egg white and a tablespoon of water, and brush it over the top of your bread. This will give it that pretty color after it bakes.
Boil a small pot of water, when boiling, turn of pot and transfer water to an oven safe dish.
Turn your oven off.
Place the dish of hot water on the lower rack of the oven, and then place your loaf of bread on the rack above the water.
Allow your loaf to double again ( approximately 20 minutes).
Remove the pan of water.
Without removing the loaf of bread, turn your oven back on to 425 degrees and bake for 10 minutes.
When the timer beeps on that, reset your oven to 375 degrees and bake for an additional 6-8 minutes. or until your bread is golden brown.
Your house is going to smell delicious! You may want to have the butter ready. You won't be able to resist when this comes out of the oven!
I've made this recipe two or three times and the more you make it, the simpler it gets. :)

Now that you're so hungry you can't stand it, let's see if we can make you even more hungry... with
Garlic Parmesan Knots:
You'll Need:
1 Can of Biscuits (8)
1/4 Cup of Melted Butter
3 Tbsp Parmesan cheese grated
1/2 Tsp Garlic Powder
1 Tsp dried oregano
1 Tsp Parsley Flakes
1 Basting Brush
Instructions:
- Pre-heat your oven to 375 Degrees.
- Open your can of biscuits, and cut each biscuit into halves.
- Mix your melted butter, Parmesan cheese, garlic powder, oregano and parsley together in a small bowl. Let sit while you finish your knots. ( I didn't have any parsley when I made these, and they were still yummy!)
- Roll each biscuit by hand into 5-6 inch ropes, then tie them into knots.
- Place each knot onto a baking sheet.

- Dip your basting brush in the bowl of butter and cheese, and cover each knot with the mixture. Being sure to save some for after they are done baking.
- Bake these little bits of garlicky goodness for 8-10 minutes.
- Your knots should be nice and golden brown. Baste on the last bit of buttery goodness.. and enjoy.

Sunday, November 12, 2017
Chocolate Chip Cookie Cake
Welcome to the "G" kitchen! Lots of yummy things are made with love here. Today, for my first post, I thought i'd share the chocolate chip cookie cake recipe I use all the time.
I first found this recipe while searching for a great cookie cake recipe for my son's birthday. He wanted a cookie cake for his family birthday party at home.
Everyone loved it so much at his parties that and twice for my daughter's birthday too.
I've changed the recipe some, and added pureed pumpkin for a fall flavor.
Every single time, it's been super simple to bake and so yummy!
Let's get baking!
First you need to gather your ingredients:
3/4 C Butter, Softened
3/4 C brown sugar
1/4 C pure cane sugar
1 lg egg + 1 yolkd
1 1/2 tsp vanilla
2 - 2 1/4 C Flour
1 tsp baking soda
3/4 tsp salt
1 1/2 C Chocolate Chips (or any mix of chips or yummies you'd like.. Peanut Butter Chips, Caramel Chips, M&M's)
I first found this recipe while searching for a great cookie cake recipe for my son's birthday. He wanted a cookie cake for his family birthday party at home.
Everyone loved it so much at his parties that and twice for my daughter's birthday too.
 |
| Cookie Cake for my daughter's Popsicle themed birthday |
 |
| My son's birthday cake for friends. First time piping out a baseball bat. : ) |
I've changed the recipe some, and added pureed pumpkin for a fall flavor.
Every single time, it's been super simple to bake and so yummy!
Let's get baking!
First you need to gather your ingredients:
3/4 C Butter, Softened
3/4 C brown sugar
1/4 C pure cane sugar
1 lg egg + 1 yolkd
1 1/2 tsp vanilla
2 - 2 1/4 C Flour
1 tsp baking soda
3/4 tsp salt
1 1/2 C Chocolate Chips (or any mix of chips or yummies you'd like.. Peanut Butter Chips, Caramel Chips, M&M's)
Note: If you use salted butter, i'd omit the salt from the recipe.
Directions:
These cookies will be out of the oven and in your mouth in about 22 minutes flat. You'll need to pre-heat your oven to 350 degrees.
First, cream together your butter and the sugars in a large mixing bowl. I use a pure cane sugar, instead of refined white sugar, but either would work just fine.
Next, Add in the egg, yolk and and vanilla.
Then, in another bowl, mix together the baking soda, salt, and flour. I use Wheat Montana's whole wheat white flour. It mixes so smoothly and has no bitter taste. It's amazing, trust me. :) I pick mine up in 10 lb bags at Wal-mart.
Once the dry ingredients are mixed, add them to your wet ingredients and stir just until combined.
Fold in your chocolate chips, I usually use a silicon spatula to do this with, but anything works.
Once all of that is done, spray your cookie pan with cooking spray,and press your batter into the pan, making sure all parts of the pan are covered.
(I purchased this great Wilton giant cookie pan at Bed Bath & Beyond for $5.99)

(I purchased this great Wilton giant cookie pan at Bed Bath & Beyond for $5.99)
Finally, put all of that work into the oven for 22 minutes until your cookie is pretty and brown.
Allow your cookie to cool, before trying to frost or put on a cooling rack.
Last but not least, enjoy every last crumb, it'll be amazing.
I Promise.
Happy Baking!
Jessica
Subscribe to:
Posts (Atom)